Guide Steps
Introduction / Overview
When viewing Plan Quantities it may be beneficial if some quantity lines are highlighted and others are greyed out depending upon specific circumstances. This can help ensure specific information is correctly filled out and thereby reducing errors.
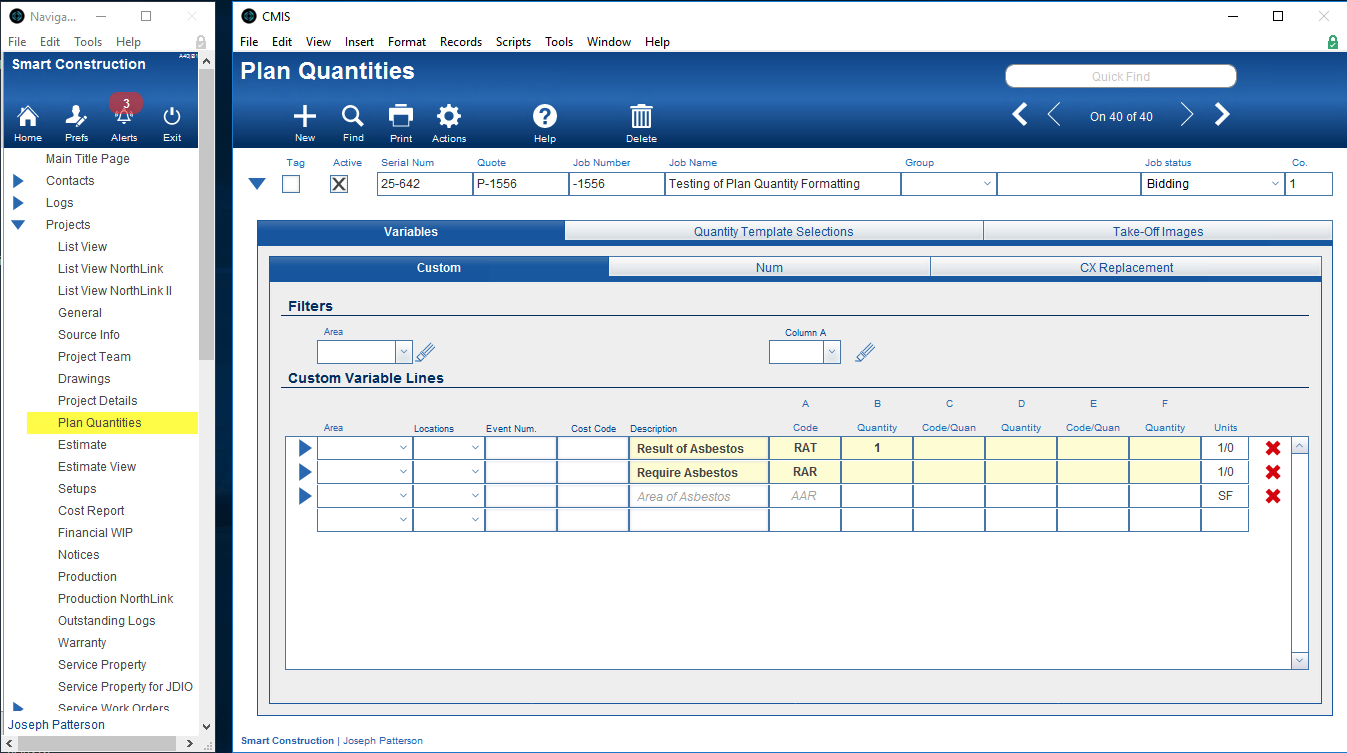
For example, you have a project in California and because of that, there is a requirement to test for asbestos before demolition can occur. And of course, if there is asbestos you’ll have to remediate it somehow. So two of the plan quantities variables might be “Result Asbestos Test” (RAT) and “Require Asbestos Remediation” (RAR). Under normal circumstances, these two variables would be greyed out, but if the project is in California we want the “RAR” to be highlighted, and if the “RAR” is 1 (a yes) we would then want “RAT” to be highlighted otherwise it would remain grey.
Perquisites
In order to use this feature, a few things need to be established.
- Must be using CMIS version 643 sprint 4 (v643s04) or greater.
- You should be familiar with the FileMaker calculation functions.
- You should be familiar with using Quantity Templates and Plan Quantities
Creating The Formulas
There are two formulas that can be utilized for each Plan Quantities Custom Variable line item. One is for bolding/highlighting of a line item and the other is for graying/initializing a line item.
- It is best to create a Test Project with the Quantity Template already created so that you can have sample data.
- Navigate to Projects > Plan Quantities for this Test Project.
- Drill down on a line item so you’ll be in a list view of all the Plan Quantities for this test project.
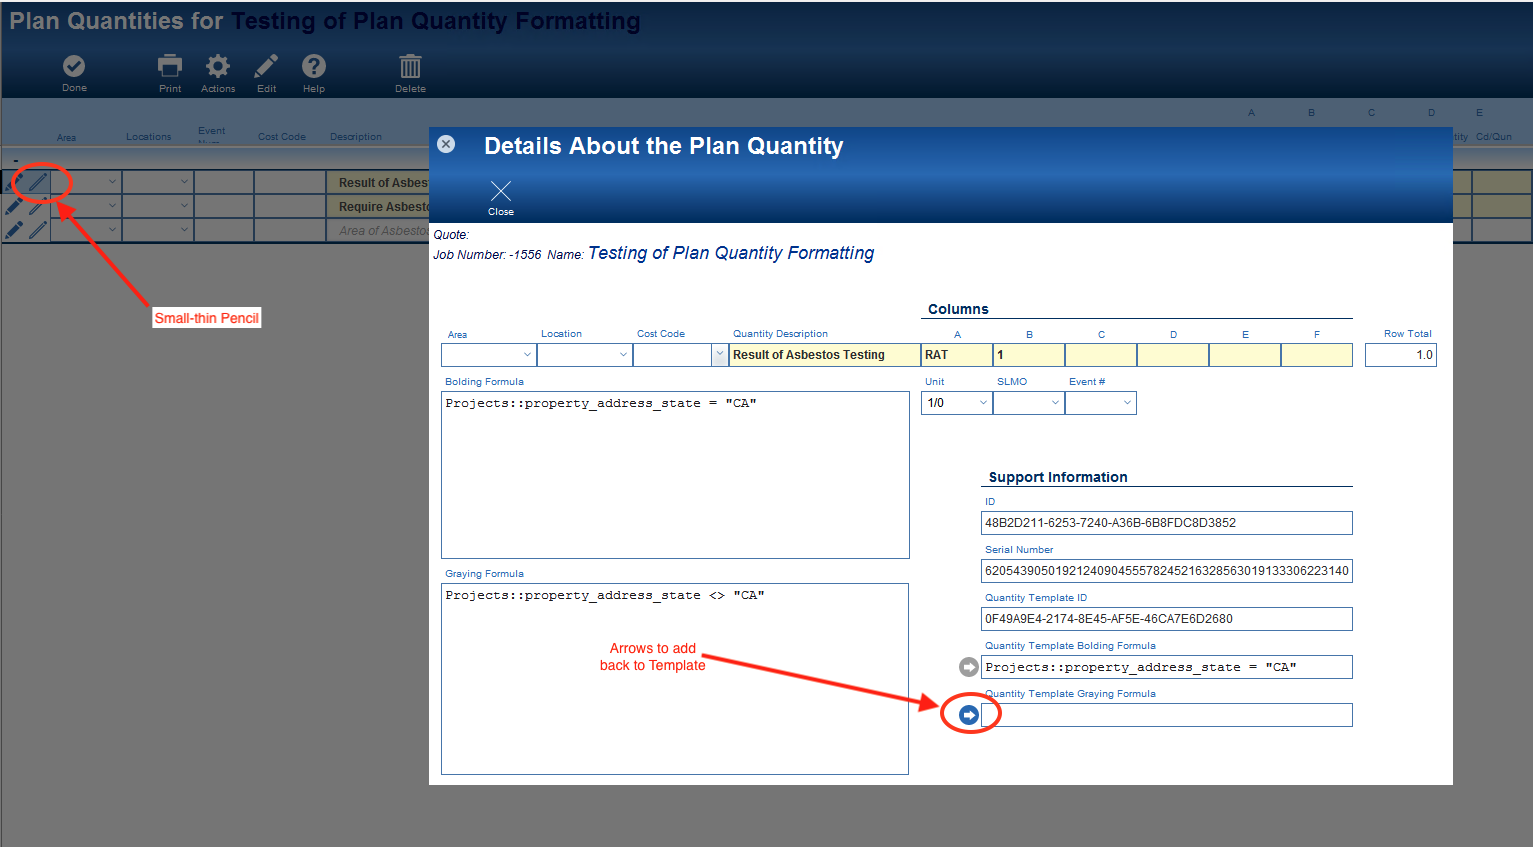
- Click on the “small-thin” pencil on the line that you would like to add a formula, this will open the “Details about the Plan Quantity” card window.
- Enter a logical expression when true will “Bold” this item in the Bolding Formula field.
- Enter a logical expression when true will “Grey” this item in the Graying Formula filed.
- Example: in the above “California” example for the “RAT” variable
- The Bolding Formula would be:
-
Projects::property_address_state = "CA"
- And the Graying Formula would be:
-
Projects::property_address_state <> "CA"
- A custom formula that you can use to look at the values of other variables is “GetVariableValue ( Variable )“. Still referring to the “California” example the “RAR” variable is dependent on the if there is a value of 1 for the “RAT” variable. So
- The Bolding Formula would be:
-
GetVariableValue ( "RAT" ) = 1
- And the Graying Formula would be:
-
GetVariableValue ( "RAT" ) <> 1
Add Formulas to the Quantity Template
Once you have designed the formulas in your test project and they are working as expected. You should add them back to your template.
- From Projects > Plan Quantities
- Drill down on the Custom Variable Lines
- Click the “Small-thin” pencil to get to the Details About the Plan Quantity card window
- In the lower right area under Support Information, there are two blue arrows (if they are gray that means the formula in the template is the same as the plan quantities line item) click them will add the formula back to the template.
Final Notes
- This feature is not “backward” compatible. That is, you won’t be able to take an existing project that was created before v643s04 that had a plan quantity template and write the formulas and then push them back to the original template.
- The connection from a Quantity Template and the Plan Quantities will only be established on Plan Quantities created with the v643s04 versions or later.
- The GetVariableValue ( Variable ) formula will return the value for the “Variable” within the same project and sub-job.